Graph For X Is Less Than Or Equal To 0: A Comprehensive Guide To Understanding Inequalities
Ever wondered how to solve and graph inequalities like "x is less than or equal to 0"? Well, you're in the right place. This article dives deep into the world of inequalities, breaking down everything from the basics to advanced concepts. Whether you're a student, teacher, or just someone curious about math, we’ve got you covered.
Math isn’t always about numbers and equations. Sometimes, it’s about understanding relationships—like when one value is less than or equal to another. If you’ve stumbled upon this page, chances are you’re trying to figure out how to graph "x ≤ 0." Don’t worry; we’ll walk you through it step by step. Trust me, by the end of this article, you’ll be a pro at graphing inequalities.
Before we jump into the nitty-gritty, let’s take a moment to appreciate why inequalities matter. In real life, they help us make decisions, set boundaries, and even solve problems we encounter daily. Think about budgeting, time management, or even cooking. All these activities involve some form of inequality. So, buckle up, and let’s get started!
- Flixer Tv The Ultimate Streaming Experience You Need To Know
- Myflixertvto The Ultimate Streaming Haven For Movie Buffs And Series Enthusiasts
What Does "Graph for X is Less Than or Equal to 0" Mean?
Alright, let’s break it down. When we say "x is less than or equal to 0," we’re talking about all the possible values of x that satisfy this condition. In mathematical terms, it means x can be 0 or any negative number. Simple, right? But how do we represent this on a graph? That’s where things get interesting.
Visualizing the Concept
To graph "x ≤ 0," we use a number line. The number line is like a ruler that stretches infinitely in both directions. On this line, we mark the point where x equals 0 and shade everything to the left of it. The shaded area represents all the values of x that are less than or equal to 0.
- Start by drawing a horizontal line.
- Mark the point 0 on the line.
- Use a closed circle at 0 to indicate that 0 is included in the solution.
- Shade everything to the left of 0.
Understanding Inequalities: A Quick Refresher
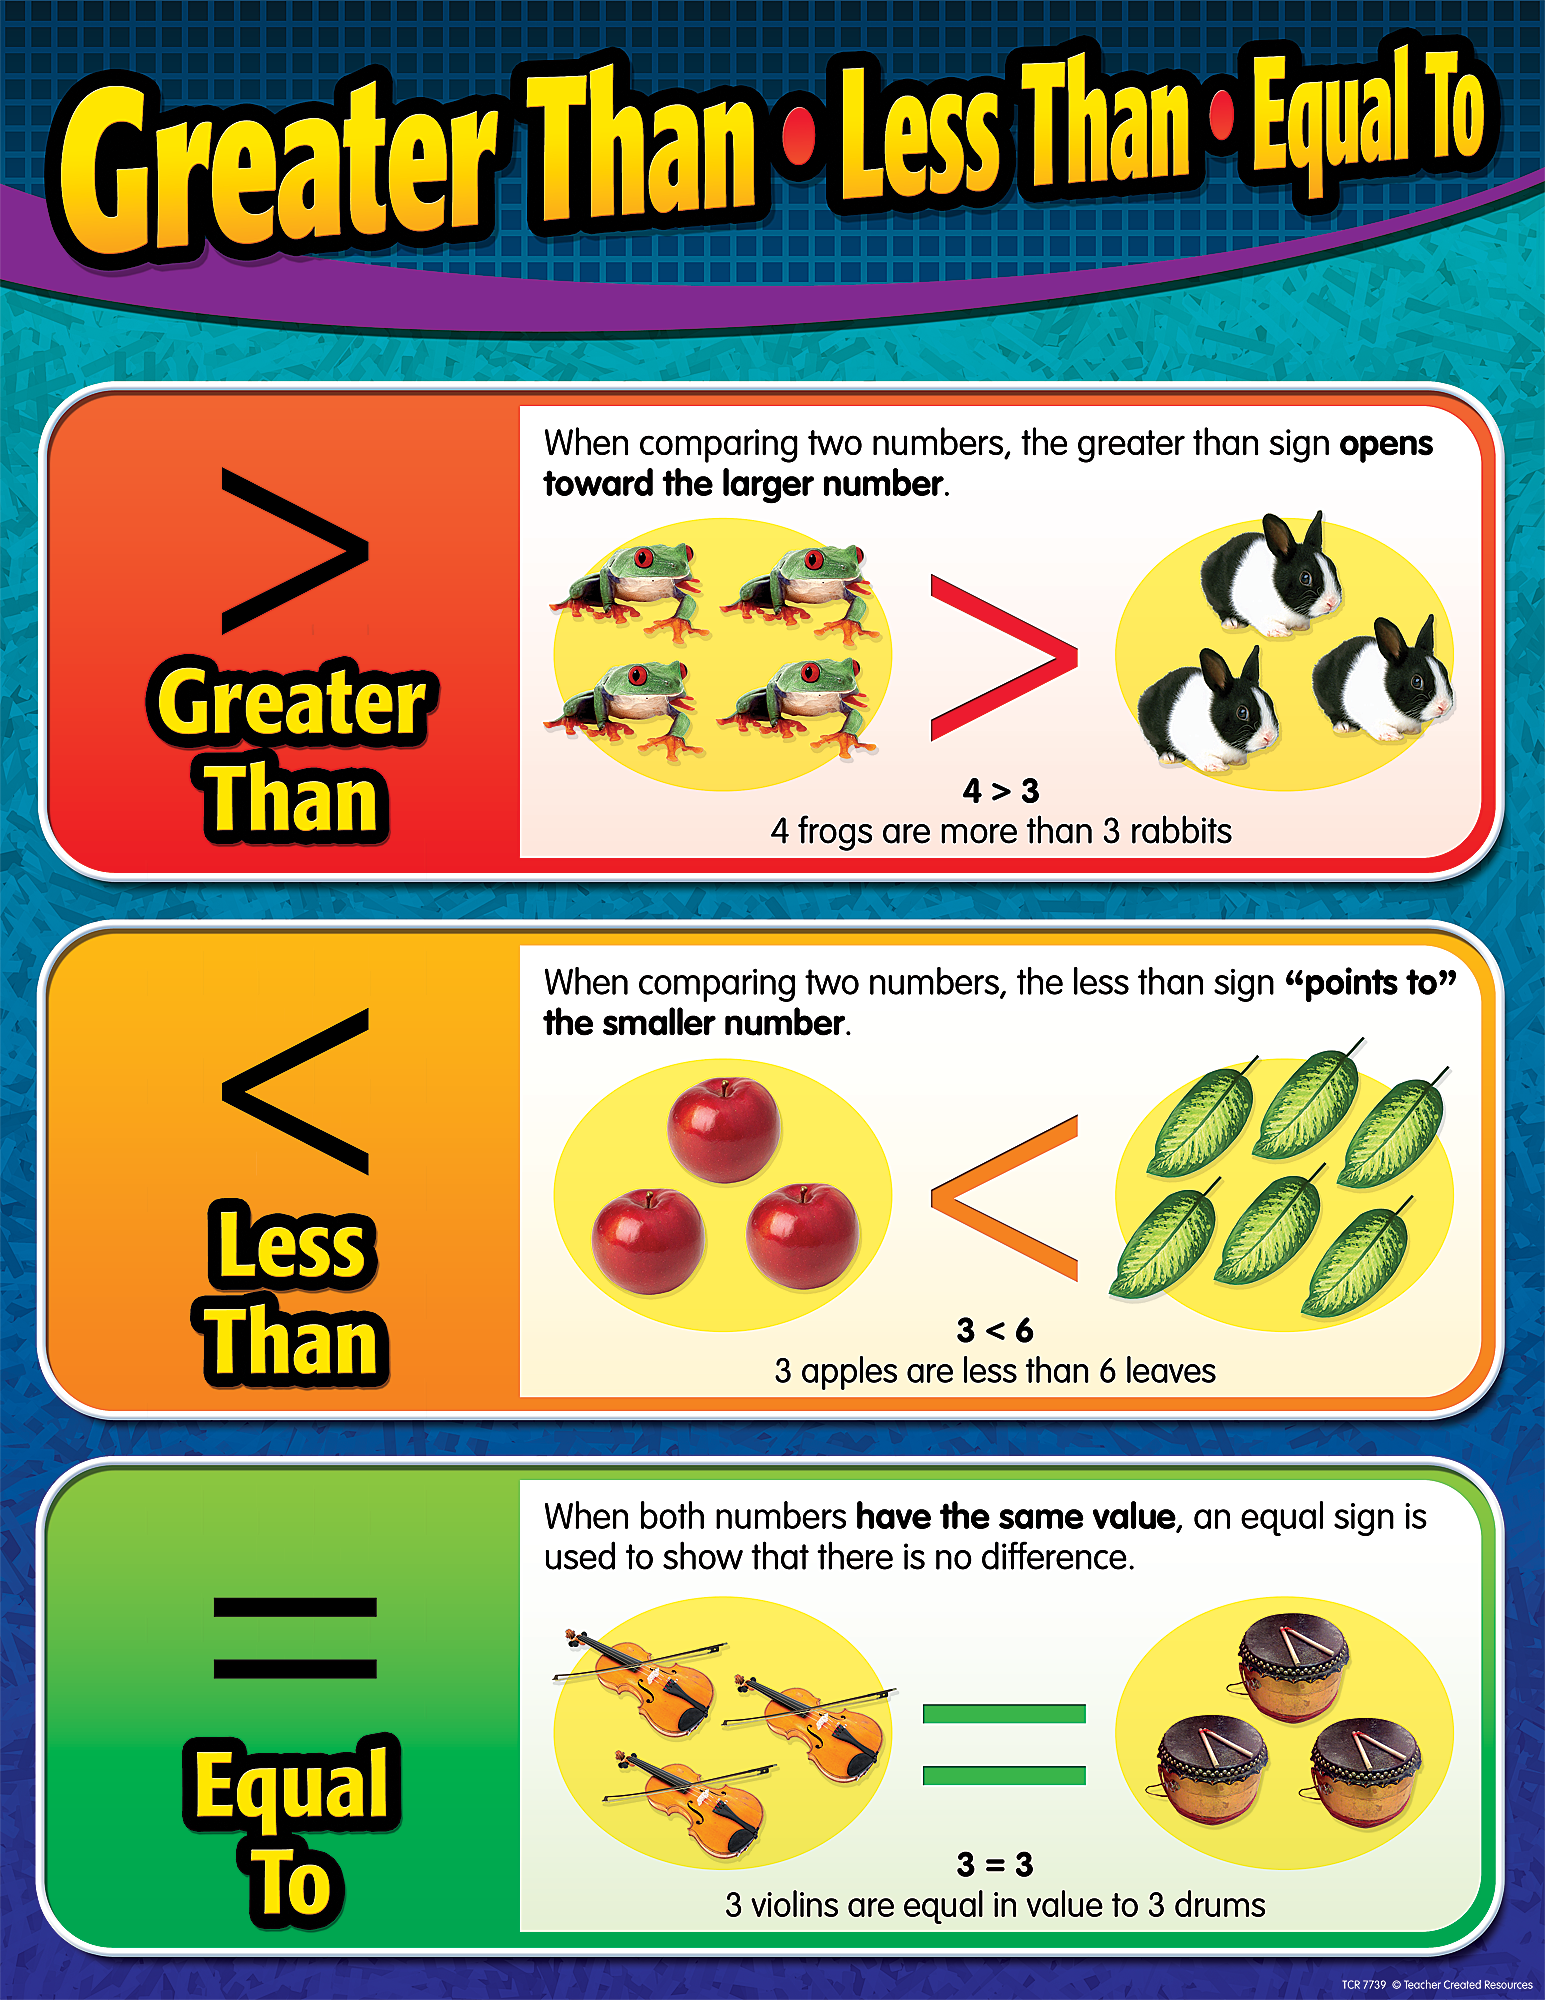
Before we dive deeper into graphing, let’s revisit the basics of inequalities. Inequalities compare two expressions using symbols like , ≤, and ≥. These symbols tell us whether one value is less than, greater than, less than or equal to, or greater than or equal to another.
- Flixer Ru Your Ultimate Guide To Unlocking Entertainment Bliss
- Movie7to Movies Your Ultimate Destination For Streaming Blockbusters
Common Symbols in Inequalities
Here’s a quick rundown of the symbols you’ll encounter:
- <: less than>
- >: Greater than
- ≤: Less than or equal to
- ≥: Greater than or equal to
Each symbol has a specific meaning, and understanding them is key to solving and graphing inequalities.
Why Graph Inequalities?
Graphing inequalities isn’t just about drawing lines and shading areas. It’s a powerful tool that helps us visualize solutions and make sense of complex problems. By graphing, we can see at a glance which values satisfy a given condition. This visual representation is especially useful in fields like engineering, economics, and even everyday decision-making.
Real-World Applications
Inequalities pop up in all sorts of real-world scenarios. For example:
- Businesses use inequalities to set budgets and forecast profits.
- Scientists use them to model population growth and resource allocation.
- Chefs use inequalities to ensure they don’t overcook or undercook food.
So, mastering inequalities isn’t just about passing a math test. It’s about equipping yourself with a valuable skill that has practical applications.
Step-by-Step Guide to Graphing "X ≤ 0"
Now that we’ve covered the basics, let’s walk through the process of graphing "x ≤ 0" step by step.
Step 1: Draw the Number Line
Start by drawing a horizontal line. This line represents all possible values of x.
Step 2: Locate the Point
Find the point where x equals 0 on the number line. Mark it clearly.
Step 3: Use a Closed Circle
Since the inequality includes 0, use a closed circle at this point to indicate that 0 is part of the solution.
Step 4: Shade the Solution
Shade everything to the left of 0. This shaded area represents all the values of x that are less than or equal to 0.
Tips for Graphing Inequalities
Graphing inequalities might seem tricky at first, but with a few tips, you’ll be doing it like a pro in no time.
Tip 1: Pay Attention to the Symbol
Remember, the symbol tells you whether to use an open or closed circle. If the inequality includes "equal to," use a closed circle. Otherwise, use an open circle.
Tip 2: Double-Check Your Shading
Shading is crucial because it shows the solution set. Always double-check that you’re shading the correct side of the number line.
Tip 3: Practice Makes Perfect
Like any skill, graphing inequalities gets easier with practice. Try graphing different inequalities to build your confidence.
Common Mistakes to Avoid
Even the best mathematicians make mistakes sometimes. Here are a few common pitfalls to watch out for:
Mistake 1: Forgetting the Circle
Always remember to include a circle at the point where the inequality starts. Whether it’s open or closed depends on the symbol.
Mistake 2: Shading the Wrong Side
Make sure you’re shading the correct side of the number line. If you’re unsure, test a value in the inequality to confirm.
Mistake 3: Overcomplicating the Process
Graphing inequalities doesn’t have to be complicated. Stick to the basics and keep things simple.
Advanced Concepts: Solving Compound Inequalities
Once you’ve mastered basic inequalities, it’s time to tackle compound inequalities. These involve multiple conditions, such as "x ≤ 0 and x ≥ -5." Solving and graphing these requires a bit more thought, but the principles remain the same.
Step 1: Solve Each Inequality Separately
Break the compound inequality into its individual parts and solve each one.
Step 2: Combine the Solutions
Once you’ve solved each part, combine the solutions to find the overall solution set.
Step 3: Graph the Combined Solution
Use a number line to graph the combined solution, making sure to include all relevant points and shading.
Conclusion
In conclusion, graphing inequalities like "x ≤ 0" is a fundamental skill that opens the door to more advanced mathematical concepts. By following the steps outlined in this article, you can confidently tackle any inequality that comes your way. Remember, practice is key, and don’t be afraid to ask for help if you need it.
So, what are you waiting for? Grab a pencil and paper, and start graphing! And if you found this article helpful, don’t forget to share it with your friends. Who knows? You might just inspire someone else to embrace the beauty of math.
Table of Contents:
- What Does "Graph for X is Less Than or Equal to 0" Mean?
- Understanding Inequalities: A Quick Refresher
- Why Graph Inequalities?
- Step-by-Step Guide to Graphing "X ≤ 0"
- Tips for Graphing Inequalities
- Common Mistakes to Avoid
- Advanced Concepts: Solving Compound Inequalities
- Bflix Unblocked Your Ultimate Guide To Stream Movies Anytime Anywhere
- Letflixcom The Ultimate Streaming Hub Youve Been Waiting For
Greater Than/Less Than/Equal To Chart TCR7739 Teacher Created Resources
![[Solved] Please help solve P(57 less than or equal to X less than or](data:image/gif;base64,R0lGODlhAQABAAAAACH5BAEKAAEALAAAAAABAAEAAAICTAEAOw==)
[Solved] Please help solve P(57 less than or equal to X less than or

Greater Than, Less Than and Equal To Sheet Interactive Worksheet
