Graph X+y Is Less Than Or Equal To 2: Your Ultimate Guide To Mastering Linear Inequalities
So here we are, diving into the fascinating world of math—specifically, the graph x+y is less than or equal to 2. Now, I know what you're thinking: "Math? Really?" But trust me, this isn't just about numbers and lines on a graph. This is about understanding how the world works, from budgeting your monthly expenses to designing the next big skyscraper. Stick with me, and we’ll make this as painless—and even fun—as possible.
Let’s break it down. The phrase "graph x+y is less than or equal to 2" might sound intimidating, but it’s actually a simple concept once you get the hang of it. Essentially, we're talking about a region on the coordinate plane where the sum of x and y doesn’t exceed 2. It’s like setting a limit, and everything within that boundary follows the rules. Sound interesting? Keep reading.
In this article, we’ll explore everything you need to know about graphing inequalities, with a special focus on x+y ≤ 2. We’ll cover the basics, dive into practical examples, and even touch on some real-world applications. Whether you’re a student brushing up on your math skills or someone curious about how math applies to everyday life, this guide has got you covered.
- Flixtortvto Your Ultimate Streaming Destination In 2023
- Flixtorzto Alternatives The Ultimate Guide To Finding Your Next Movie Streaming Haven
Before we dive deeper, let’s take a quick look at what we’ll be covering:
- Understanding Linear Inequalities
- Graphing x+y ≤ 2
- Key Concepts and Terminology
- Step-by-Step Guide to Solving Inequalities
- Real-World Applications
- Common Mistakes to Avoid
- Advanced Techniques
- Tips for Mastering Graphs
- Interactive Examples
- Conclusion and Next Steps
Understanding Linear Inequalities: What’s the Big Deal?
Alright, let’s start with the basics. Linear inequalities are like equations, but instead of an equal sign, we use symbols like , ≤, or ≥. These symbols tell us whether one side of the equation is greater than, less than, or equal to the other side. In the case of x+y ≤ 2, we’re dealing with a linear inequality in two variables: x and y.
Why do we care about linear inequalities? Well, they’re incredibly useful in real life. Imagine you’re planning a budget. You have a fixed amount of money, say $2, and you want to figure out all the possible combinations of expenses (x and y) that won’t exceed that amount. That’s exactly what x+y ≤ 2 represents!
- 123moviefree Your Ultimate Guide To Streaming Movies Online
- Himovies The Ultimate Streaming Destination For Movie Enthusiasts
What Makes Linear Inequalities Different?
Unlike equations, which give you a single solution, inequalities give you a range of possible solutions. For example, if x+y = 2, there’s only one line on the graph that satisfies the equation. But if x+y ≤ 2, you get an entire region on the coordinate plane where all the points satisfy the inequality.
Think of it like this: equations are like a tightrope walker, balancing perfectly on a single line. Inequalities, on the other hand, are more like a safety net—there’s a whole area where things can still work out.
Graphing x+y is Less Than or Equal to 2: Breaking It Down
Now, let’s talk about the star of the show: graphing x+y ≤ 2. This might seem tricky at first, but once you understand the steps, it’s actually pretty straightforward. Here’s how it works:
Step 1: Start with the Boundary Line
The first step is to graph the boundary line, which is the line x+y = 2. To do this, you need to find two points that satisfy the equation. For example:
- When x = 0, y = 2
- When y = 0, x = 2
Plot these points on the coordinate plane and draw a straight line through them. This line represents all the points where x+y equals exactly 2.
Step 2: Shade the Region
Since we’re dealing with x+y ≤ 2, we need to shade the region below the line. This is because any point below the line will have a sum of x and y that’s less than 2. The shaded area represents all the possible solutions to the inequality.
Pro tip: If the inequality was x+y
Key Concepts and Terminology: Let’s Get Technical
Before we move on, let’s clarify some important terms you’ll encounter when working with linear inequalities:
- Boundary Line: The line that separates the solution region from the rest of the coordinate plane.
- Solution Region: The shaded area on the graph where all the points satisfy the inequality.
- Half-Plane: The region on one side of the boundary line. In our case, we’re shading the half-plane below the line.
- Test Point: A point you use to determine which side of the boundary line to shade. For example, you could use (0,0) as a test point for x+y ≤ 2.
Understanding these terms will make it easier to follow along as we dive deeper into the topic.
Step-by-Step Guide to Solving Inequalities
Now that you know the basics, let’s walk through a step-by-step process for solving and graphing linear inequalities:
Step 1: Write the Inequality in Standard Form
Make sure the inequality is written in the form Ax + By ≤ C or Ax + By ≥ C. In our case, x+y ≤ 2 is already in standard form.
Step 2: Graph the Boundary Line
Plot the boundary line by finding two points that satisfy the equation. Remember to use a solid line for ≤ or ≥, and a dashed line for .
Step 3: Choose a Test Point
Pick a point not on the line (usually the origin, (0,0)) and substitute its coordinates into the inequality. If the inequality is true, shade the side of the line containing the test point. If it’s false, shade the opposite side.
Step 4: Shade the Solution Region
Shade the appropriate half-plane based on the test point. Double-check your work to ensure everything looks correct.
Real-World Applications: Why This Matters
So, why should you care about graphing x+y ≤ 2? Because linear inequalities have countless real-world applications. Here are just a few examples:
- Budgeting: As we mentioned earlier, inequalities can help you manage your finances by setting limits on spending.
- Resource Allocation: Businesses use inequalities to allocate resources efficiently, ensuring they don’t exceed their budget or capacity.
- Engineering: Engineers use inequalities to design structures that meet safety and performance requirements.
- Science: Scientists use inequalities to model real-world phenomena, such as population growth or chemical reactions.
See? Math isn’t just about numbers—it’s about solving real problems!
Common Mistakes to Avoid: Don’t Fall Into These Traps
Even the best mathematicians make mistakes sometimes. Here are a few common pitfalls to watch out for when graphing linear inequalities:
- Forgetting to shade the correct region.
- Using the wrong type of line (solid vs. dashed).
- Choosing the wrong test point.
- Forgetting to double-check your work.
Stay sharp, and you’ll avoid these mistakes like a pro.
Advanced Techniques: Taking It to the Next Level
Once you’ve mastered the basics, you can start exploring more advanced techniques. For example:
- Systems of Inequalities: Graph multiple inequalities on the same coordinate plane to find the overlapping solution region.
- Optimization Problems: Use inequalities to solve problems that involve maximizing or minimizing a quantity, such as profit or cost.
- Technology Tools: Use graphing calculators or software like Desmos to visualize inequalities and check your work.
These techniques will take your skills to the next level and open up new possibilities for solving complex problems.
Tips for Mastering Graphs: Practice Makes Perfect
Like any skill, mastering linear inequalities takes practice. Here are a few tips to help you along the way:
- Start with simple examples and gradually work your way up to more complex problems.
- Use graph paper to ensure your lines and shading are accurate.
- Practice regularly to build confidence and fluency.
- Seek help from teachers, tutors, or online resources if you get stuck.
Remember, every expert was once a beginner. Keep practicing, and you’ll get there!
Interactive Examples: Let’s Get Hands-On
Ready to try your hand at graphing x+y ≤ 2? Here’s a quick example to get you started:
Graph the inequality x+y ≤ 2. Use the steps we discussed earlier: plot the boundary line, choose a test point, and shade the solution region. Don’t worry if it doesn’t come out perfect the first time—practice makes perfect!
Conclusion and Next Steps: What Now?
And there you have it—everything you need to know about graphing x+y ≤ 2. From understanding the basics to exploring real-world applications, we’ve covered it all. Linear inequalities might seem intimidating at first, but with a little practice, you’ll be graphing like a pro in no time.
So, what’s next? Keep practicing, explore more advanced topics, and don’t be afraid to ask for help if you need it. Math is all about problem-solving, and every new skill you learn brings you one step closer to mastering the art of numbers.
Before you go, don’t forget to leave a comment or share this article with your friends. Who knows? You might inspire someone else to dive into the world of math too!
- Flixwave Your Ultimate Streaming Solution
- Riedberg Movies Your Ultimate Guide To This Hidden Gem In The Film World
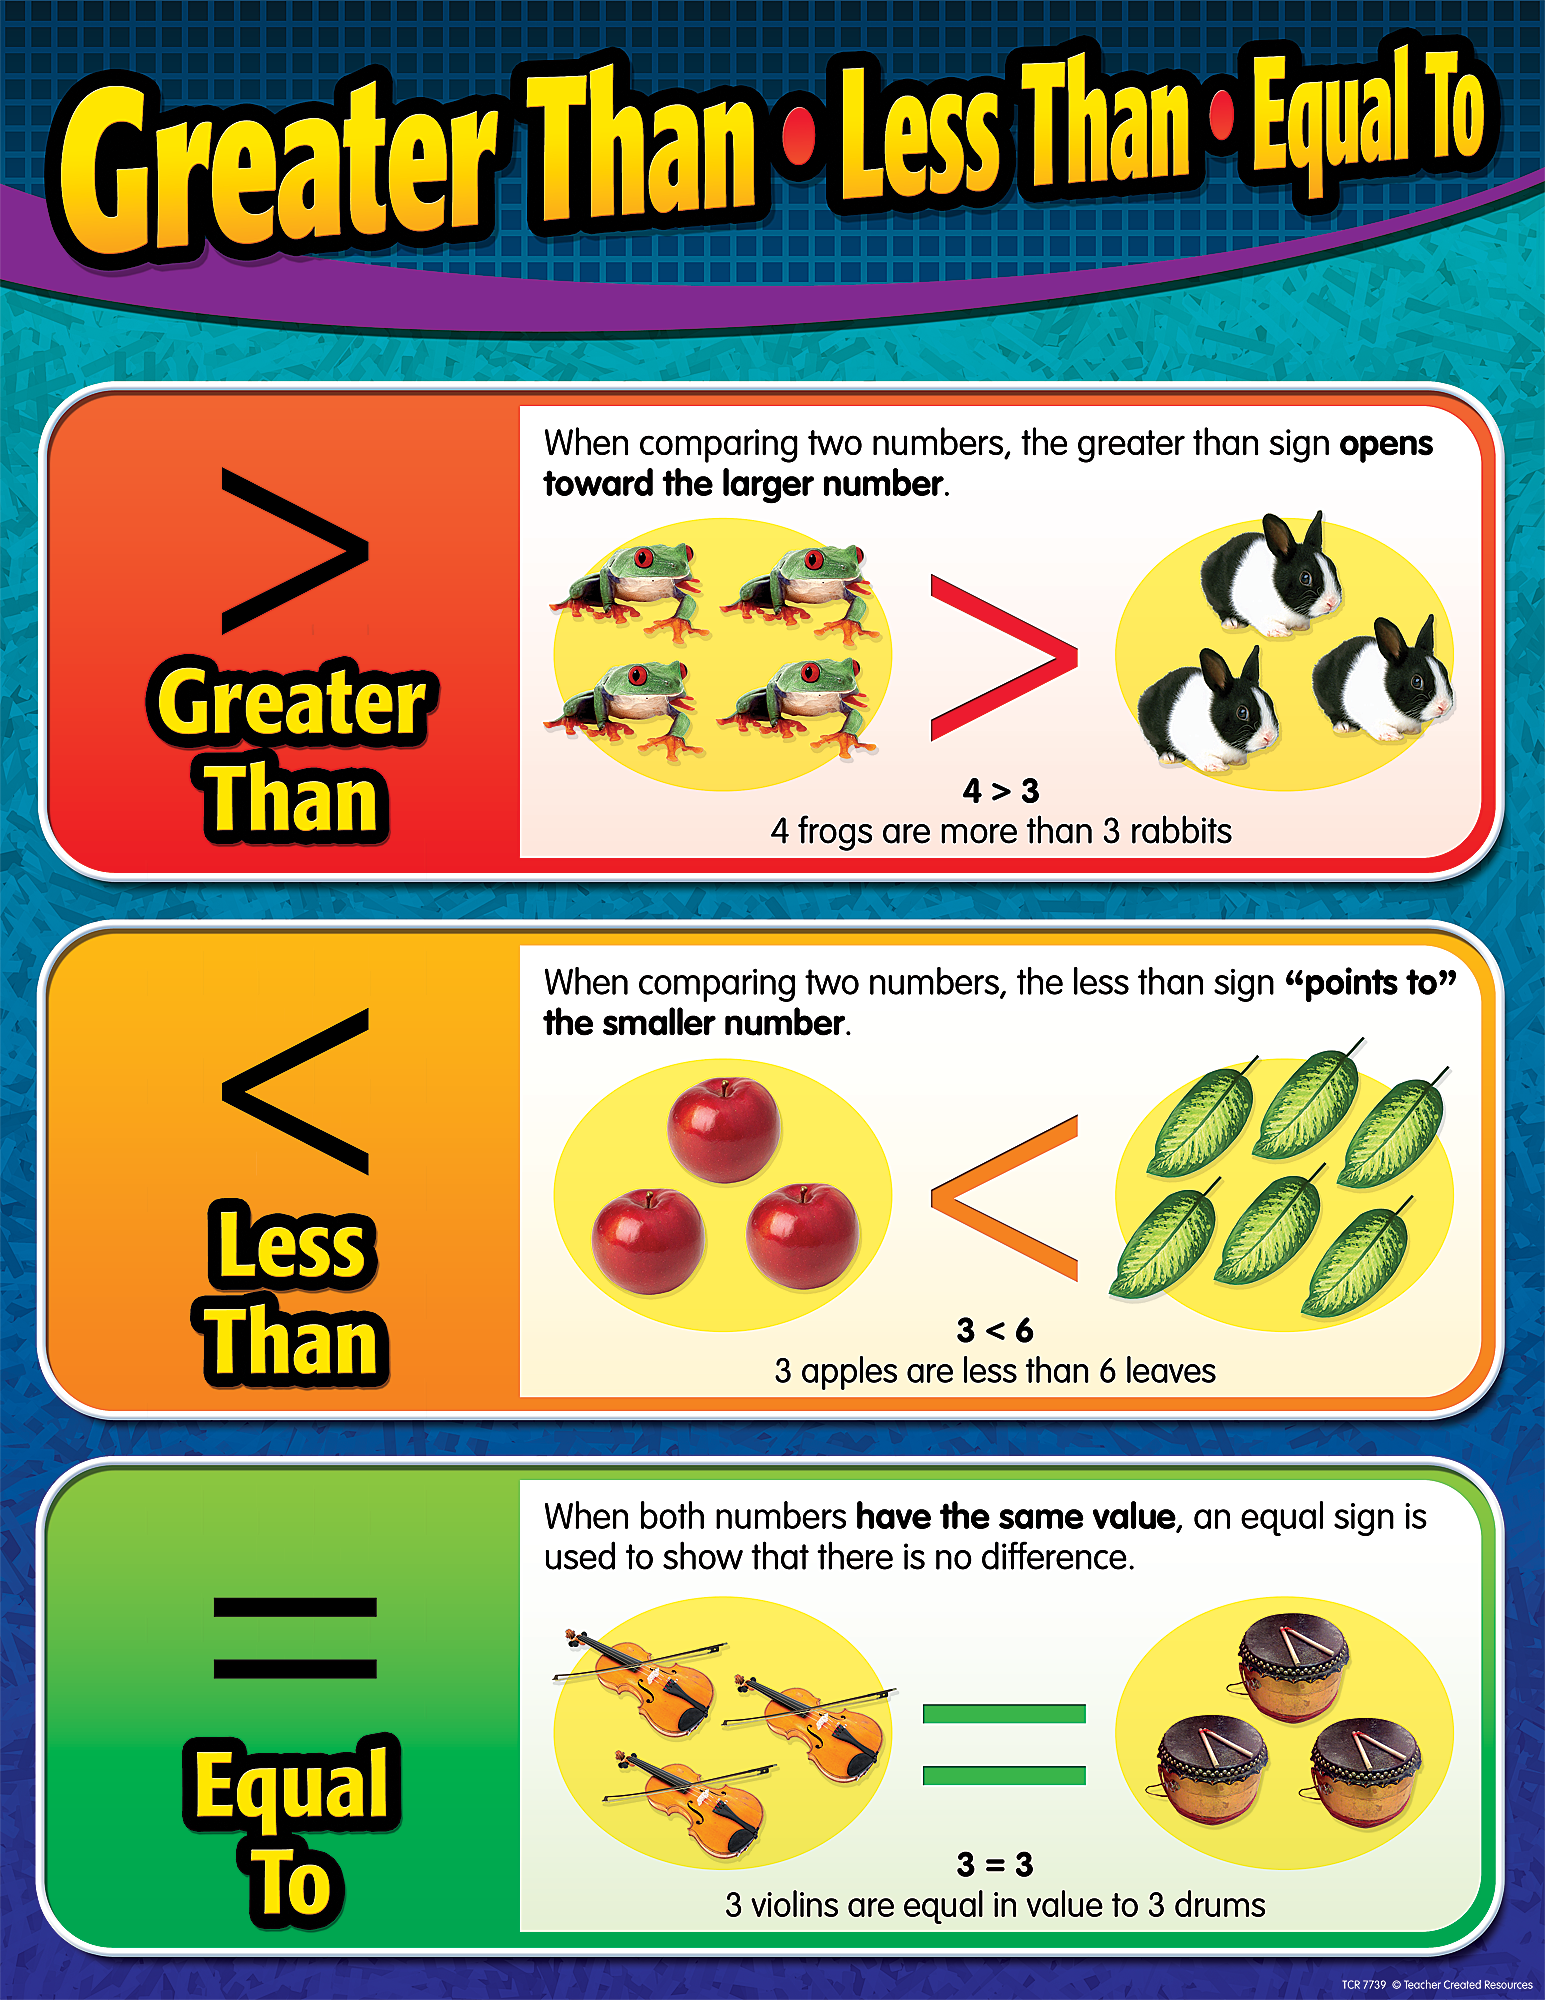
Greater Than/Less Than/Equal To Chart TCR7739 Teacher Created Resources

Greater Than, Less Than and Equal To Sheet Interactive Worksheet
Less Than Equal Vector Icon Design 21272635 Vector Art at Vecteezy
