How To Build A Yagi Antenna: Your Ultimate DIY Guide
Building a Yagi antenna is like crafting your own superpower for better signal reception. Whether you're looking to boost your TV signals, enhance your ham radio performance, or just geek out over some cool tech, this guide has got you covered. Imagine harnessing the power of directional antennas to pick up channels from miles away—it’s not magic, it’s science! And guess what? You can do it yourself with simple tools and materials.
Now, why should you care about building a Yagi antenna? Well, let me tell ya, in today's world where connectivity matters more than ever, having a reliable setup that maximizes your signal strength can save you a ton of frustration. Plus, there’s something oddly satisfying about creating something with your own two hands that actually works. Think of it as a mix between engineering and art—functional and fun!
Before we dive into the nitty-gritty details, let’s clear one thing up. This isn’t just any old antenna tutorial. We’re going deep, exploring everything from design principles to troubleshooting tips. By the end of this guide, you’ll have enough knowledge to build your very own Yagi antenna and impress all your friends—or at least those who appreciate good tech. So, grab your tools, and let’s get started!
- Prmovies Pk Your Ultimate Movie Streaming Destination
- Thexflixerto Your Ultimate Movie Streaming Destination
What is a Yagi Antenna Anyway?
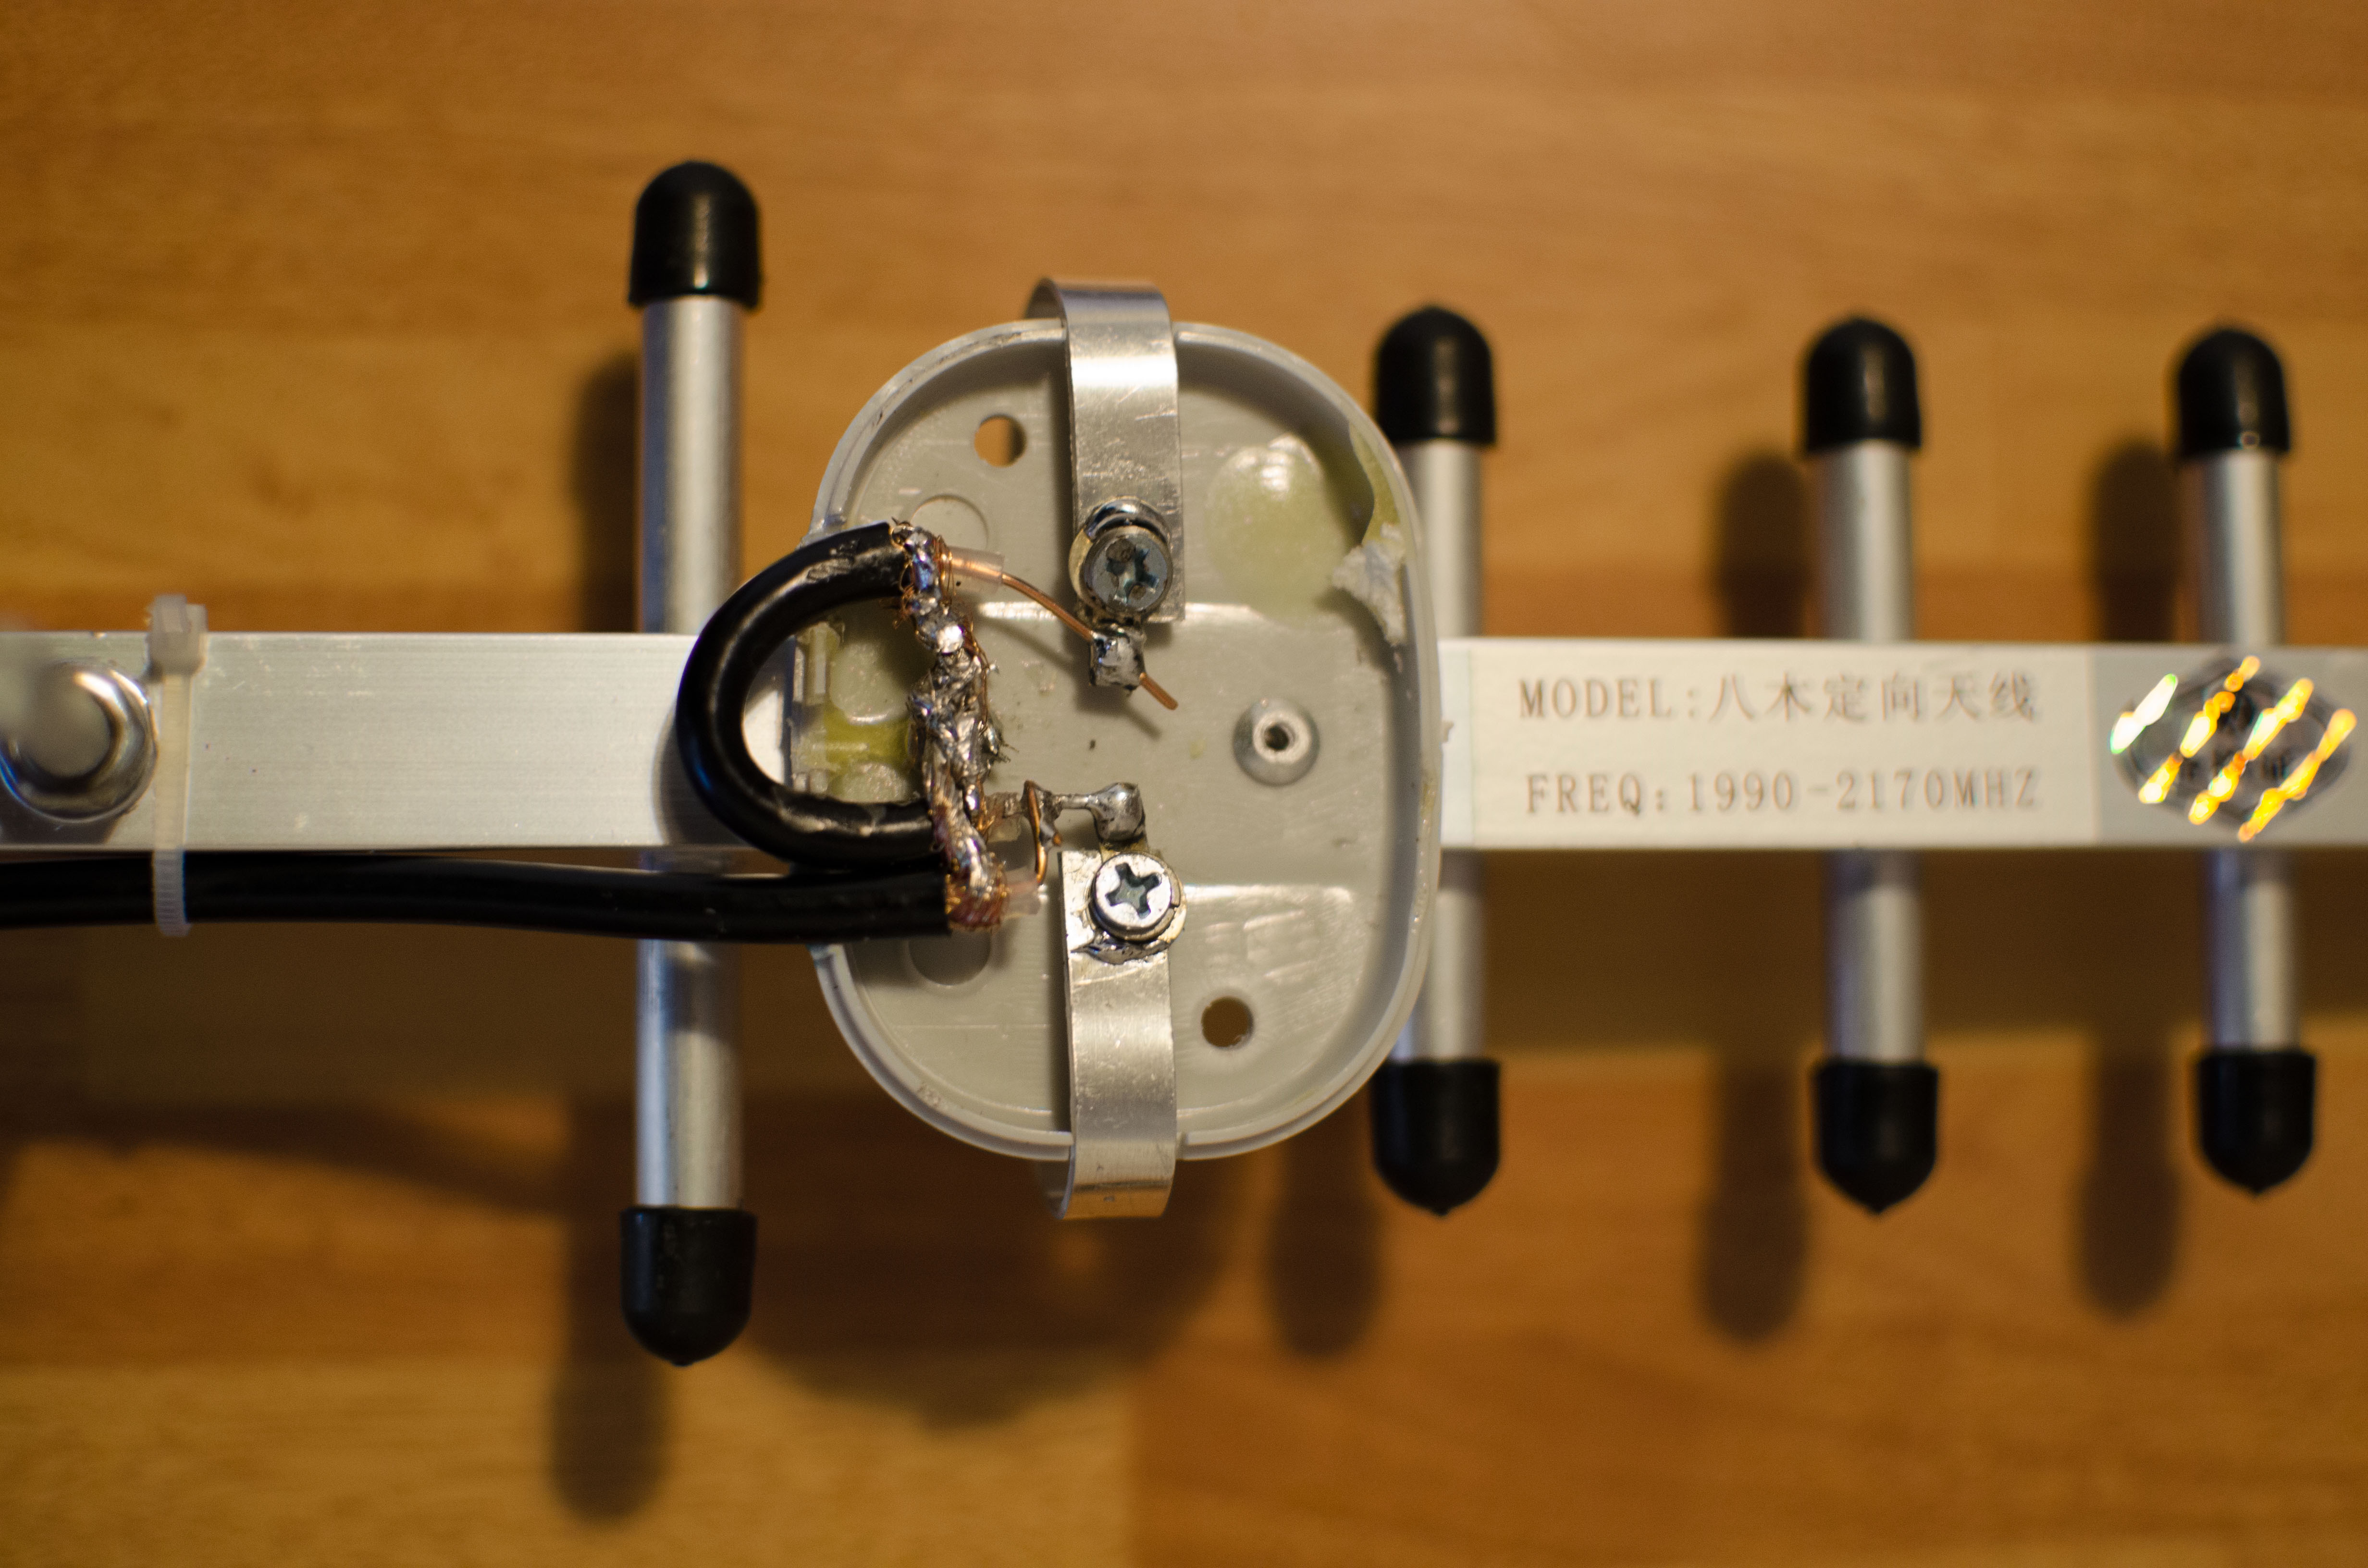
A Yagi antenna, also known as a Yagi-Uda antenna, is a directional antenna used to transmit and receive radio waves. Think of it like a laser beam for signals—it focuses energy in one direction, giving you stronger reception and less interference. The design includes a reflector, a driven element, and several directors, which work together to amplify signals.
But here’s the cool part: unlike other antennas, Yagi antennas are super efficient when it comes to long-distance communication. They’re perfect for picking up weak signals from faraway sources, making them ideal for TV reception, ham radios, and even satellite communication. And the best part? You can build one yourself without breaking the bank.
Why Choose Yagi Antennas Over Others?
There are tons of antennas out there, but the Yagi stands out for a few key reasons:
- Kormovie Your Ultimate Destination For Korean Movies And Series
- 9movies Top Your Ultimate Guide To Streaming Movies Online
- Directionality: Yagi antennas focus signals in a single direction, reducing noise and interference.
- High Gain: They amplify weak signals, giving you clearer reception.
- Compact Size: Despite their power, Yagi antennas are relatively small and easy to install.
- Cost-Effective: Building one yourself is affordable and doesn’t require fancy equipment.
So, if you’re looking for an antenna that packs a punch without taking up too much space, the Yagi is definitely worth considering.
Tools and Materials You’ll Need
Building a Yagi antenna doesn’t require a PhD in engineering (though it helps if you’re nerdy like that). All you need are a few basic tools and materials. Here’s what you’ll need:
- Coaxial Cable: For connecting your antenna to your device.
- Copper Wire: Used for the elements of the antenna.
- PVC Pipe: Acts as the boom or support structure.
- Soldering Iron: To connect wires securely.
- Drill: For making holes in the PVC pipe.
- Measuring Tape: Precision is key when building antennas.
Oh, and don’t forget safety gear like gloves and goggles. You might think they’re unnecessary, but trust me, a soldering accident is no fun.
Where to Source Your Materials?
You can find most of these materials at your local hardware store or online. Websites like Amazon or eBay have plenty of options, but if you’re feeling adventurous, check out thrift stores or even your garage. Who knows? That old copper wire lying around might just be perfect for your project.
Step-by-Step Guide to Building a Yagi Antenna
Now that you’ve got your materials ready, let’s walk through the steps to build your very own Yagi antenna. Follow along carefully, and you’ll be picking up signals in no time.
Step 1: Measure and Cut Your Elements
Accuracy is crucial here. Measure the length of each element based on the frequency you want to receive. For example, if you’re aiming for UHF TV channels, your elements will be shorter compared to VHF channels. Once you’ve measured, cut the copper wire to size using wire cutters.
Step 2: Assemble the Boom
The boom is the backbone of your antenna. Drill holes into the PVC pipe at equal intervals, ensuring they align with the placement of your elements. Then, insert the cut copper wires into the holes, securing them with glue or screws.
Step 3: Connect the Coaxial Cable
This is where things get a little technical. Use your soldering iron to connect the coaxial cable to the driven element. Make sure the connection is secure to avoid signal loss. If you’re not confident in your soldering skills, practice on scrap wire first.
Step 4: Test Your Antenna
Once everything’s assembled, it’s time to test your creation. Point the antenna towards the signal source and connect it to your device. If you’re not getting the results you expected, don’t panic. Adjust the position or tweak the elements until you find the sweet spot.
Tips for Maximizing Performance
Building a Yagi antenna is one thing, but optimizing its performance is another. Here are a few tips to help you get the most out of your setup:
- Positioning: Place your antenna in an open area away from obstructions like trees or buildings.
- Height: Higher is usually better. Try mounting your antenna on a pole or rooftop for improved reception.
- Alignment: Use a compass or signal meter to ensure your antenna is pointing directly at the signal source.
- Maintenance: Regularly check your antenna for damage or wear, especially if it’s exposed to the elements.
Remember, small adjustments can make a big difference. Don’t be afraid to experiment until you find the perfect setup.
Common Mistakes to Avoid
Even the best builders make mistakes, but here are a few pitfalls to watch out for:
- Incorrect Measurements: Double-check your calculations before cutting wires.
- Poor Connections: Ensure all connections are secure to avoid signal loss.
- Improper Alignment: Misaligned elements can reduce the effectiveness of your antenna.
By avoiding these common errors, you’ll save yourself a lot of headache down the line.
Understanding Frequency Bands and Signal Strength
Frequency bands play a huge role in how well your Yagi antenna performs. Different bands require different element lengths, so it’s important to know which one you’re targeting. For example, VHF channels (channels 2-13) require longer elements, while UHF channels (channels 14-51) use shorter ones.
Signal strength also varies depending on factors like distance, obstacles, and weather conditions. Using a signal meter or smartphone app can help you identify the strongest signals in your area, allowing you to fine-tune your antenna for optimal performance.
How to Choose the Right Frequency Band
Choosing the right frequency band depends on what you’re trying to achieve. If you’re aiming for over-the-air TV reception, focus on UHF channels. For ham radio enthusiasts, VHF might be more suitable. Do your research and plan accordingly to get the best results.
Legal Considerations and Safety Tips
Before you start building, make sure you’re aware of any local regulations regarding antenna installation. Some areas have restrictions on size, height, or placement, so it’s always a good idea to check first. Additionally, follow basic safety guidelines to avoid accidents:
- Avoid Overhead Power Lines: Keep your antenna away from electrical lines to prevent electrocution.
- Use Proper Tools: Always use the right tools for the job and wear protective gear.
- Secure Mounting: Ensure your antenna is firmly attached to prevent it from falling or causing damage.
By staying informed and taking precautions, you can enjoy your Yagi antenna without worrying about legal or safety issues.
What to Do if You Encounter Problems
Even with careful planning, issues can arise. If you’re not getting the results you expected, here are a few troubleshooting tips:
- Check Connections: Ensure all wires are securely attached and free from corrosion.
- Inspect Elements: Look for any signs of damage or misalignment.
- Reposition Antenna: Sometimes a simple adjustment can make a big difference.
Don’t give up if things don’t work right away. Building a Yagi antenna is a learning process, and every challenge is an opportunity to improve.
Conclusion: Your New Signal Superpower
Building a Yagi antenna isn’t just about improving your signal reception—it’s about taking control of your tech and creating something truly awesome. From choosing the right materials to optimizing performance, every step of the process is a chance to learn and grow. And let’s face it, there’s something incredibly satisfying about watching your favorite shows or chatting with fellow ham radio enthusiasts thanks to something you built yourself.
So, what are you waiting for? Grab your tools, gather your materials, and start building your very own Yagi antenna. Share your experience in the comments below, and don’t forget to check out our other guides for more tech-savvy tips. Happy building!
Table of Contents
- What is a Yagi Antenna Anyway?
- Tools and Materials You’ll Need
- Step-by-Step Guide to Building a Yagi Antenna
- Tips for Maximizing Performance
- Understanding Frequency Bands and Signal Strength
- Legal Considerations and Safety Tips
- Bflix Unblocked Your Ultimate Guide To Stream Movies Anytime Anywhere
- Freefullmoviesnet Your Ultimate Destination For Free Movies Online
Build yagi antenna wifi antenna halfpoh

Build yagi antenna wifi antenna laptopasl

Build wifi yagi antenna partyero
