How To Build A Yagi Antenna: Your Ultimate Guide For DIY Success
Ever wondered how to build a Yagi antenna and unlock the power of long-distance communication? Whether you're a radio enthusiast, a ham radio operator, or simply someone looking to enhance your signal reception, this guide is here to help. Building a Yagi antenna might sound complicated, but with the right steps, tools, and a bit of patience, you can create one that works like a charm.
Let’s be honest, we live in an era where technology rules the game, but sometimes, the simplest solutions are the most effective. A Yagi antenna is one of those tools that has stood the test of time. It’s not just some random piece of metal; it’s a carefully designed device that can boost your radio signals like no other. Think of it as the Swiss Army knife of antennas—compact, versatile, and powerful.
Now, before we dive deep into the nitty-gritty of building a Yagi antenna, let’s clear the air. This isn’t just about slapping some wires together and hoping for the best. It’s about understanding the science behind it, knowing the materials you need, and following a step-by-step process that ensures your antenna performs at its peak. So, buckle up, because we’re about to take you on a journey that’ll turn you into a Yagi-building pro!
- 2kmovieto Your Ultimate Destination For Movie Streaming
- Manatelugumovies Serials Your Ultimate Guide To Telugu Tv Shows And Movies
Why Build a Yagi Antenna?
Building a Yagi antenna might seem like a task reserved for tech wizards, but trust me, it’s more accessible than you think. A Yagi antenna is a directional antenna that’s perfect for receiving signals from a specific direction. Whether you’re aiming to improve your TV reception, boost your ham radio setup, or even experiment with satellite tracking, a Yagi antenna is your go-to solution.
Here’s the kicker: commercial Yagi antennas can be pricey, but building one yourself not only saves you money but also gives you the satisfaction of creating something with your own hands. Plus, when you build it yourself, you can customize it to suit your exact needs. Need a longer range? Adjust the design. Want better performance at a specific frequency? Tweak the elements. The possibilities are endless.
Benefits of Building Your Own Yagi Antenna
- Cost-effective: Save big bucks by avoiding expensive commercial options.
- Customizable: Tailor the design to fit your unique requirements.
- Learning opportunity: Gain hands-on experience with electronics and antenna theory.
- Improved performance: Fine-tune your setup for optimal signal reception.
Understanding the Basics: What Makes a Yagi Antenna Tick?
Before we get our hands dirty, let’s break down the basics. A Yagi antenna consists of three main components: the reflector, the driven element, and the directors. These parts work together to focus and amplify radio waves coming from a specific direction. Think of it like a telescope for radio waves—focusing on what you want while filtering out the noise.
- 0gomoviesmovies Your Ultimate Guide To Streaming Movies Online
- Kormovie Your Ultimate Destination For Korean Movies And Series
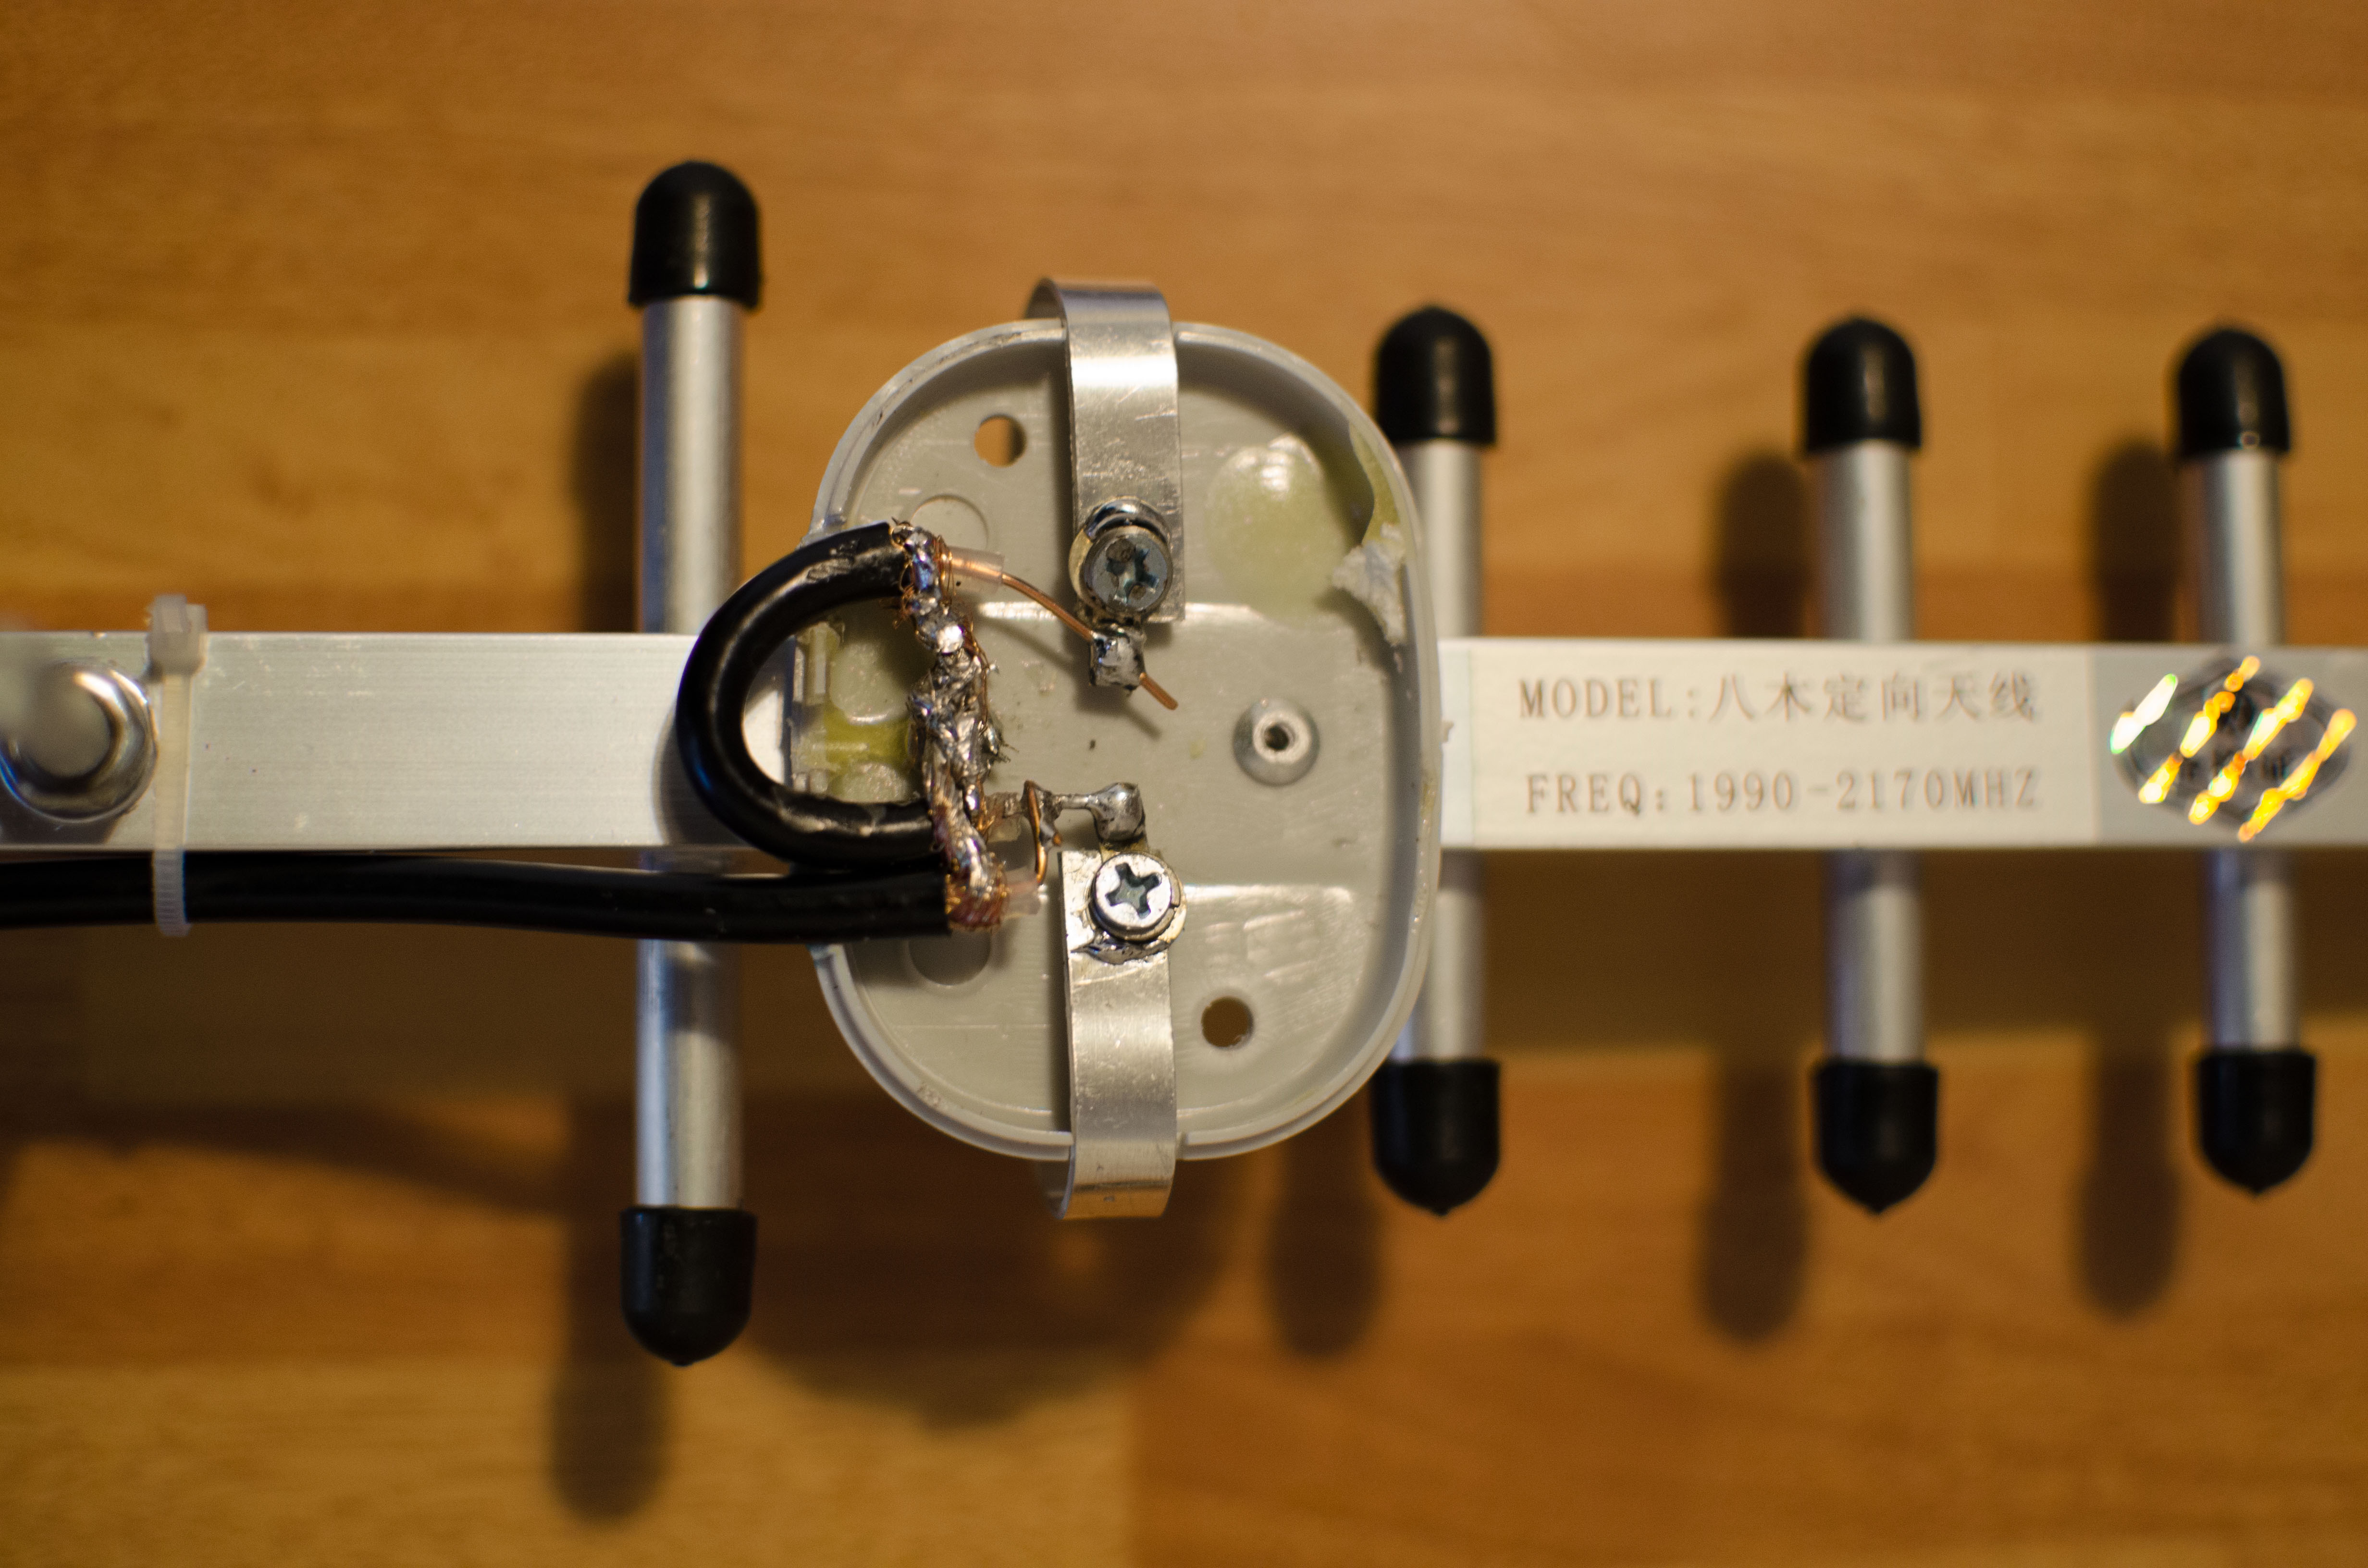
The reflector is the largest part of the antenna and sits at the back, helping to bounce signals toward the driven element. The driven element, usually a dipole, is the part that connects to your transmitter or receiver. Finally, the directors, positioned in front of the driven element, help to further focus the signal and increase the antenna’s gain.
Key Components of a Yagi Antenna
- Reflector: The largest element that reflects signals toward the driven element.
- Driven Element: The part connected to your transmitter or receiver.
- Directors: Smaller elements in front that focus and amplify the signal.
Tools and Materials You’ll Need
Now that you know what makes a Yagi antenna tick, let’s talk about the tools and materials you’ll need to build one. Don’t worry; you don’t need a fully equipped lab to get started. Most of these items can be found at your local hardware store or even in your garage.
Here’s a quick rundown of what you’ll need:
- Aluminum tubing or rods (for the elements)
- Wooden or PVC pipe (for the boom)
- Copper wire (for the driven element)
- Soldering iron and solder
- Coaxial cable
- Drill and drill bits
- Measuring tape
- Scissors or wire cutters
And that’s it! With these basic tools and materials, you’re ready to start building your very own Yagi antenna.
Where to Source Your Materials
When it comes to sourcing materials, you have a few options. Your local hardware store is a great place to start, especially if you’re looking for aluminum tubing or PVC pipes. For electronics components like copper wire and coaxial cables, an electronics supply store or even an online retailer like Amazon can be a lifesaver. Just make sure to double-check the specifications to ensure they meet your needs.
Step-by-Step Guide: How to Build a Yagi Antenna
Alright, let’s get down to business. Here’s a step-by-step guide to building your Yagi antenna:
Step 1: Design Your Antenna
The first step is designing your antenna. This involves calculating the length of each element based on the frequency you want to target. There are plenty of online calculators that can help with this, but if you’re feeling adventurous, you can do the math yourself using the formula:
Element Length (in meters) = 300 / Frequency (in MHz)
Step 2: Cut the Elements
Once you’ve calculated the lengths, it’s time to cut your aluminum tubing or rods. Use a hacksaw or a pipe cutter to ensure clean, precise cuts. Remember, accuracy is key here, so take your time.
Step 3: Assemble the Boom
Next, attach the elements to the boom. This can be done using screws or clamps, depending on your preference. Make sure the elements are evenly spaced and securely attached to the boom.
Step 4: Build the Driven Element
The driven element is the heart of your antenna, so take extra care when building it. Use copper wire to create a dipole, and solder the ends to your coaxial cable. This is where your soldering skills will come in handy!
Step 5: Test and Adjust
Once everything is assembled, it’s time to test your antenna. Use a multimeter or an SWR meter to check the impedance and adjust the elements if necessary. Remember, building a Yagi antenna is an iterative process, so don’t be afraid to tweak things until you get the desired results.
Common Mistakes to Avoid
Building a Yagi antenna isn’t rocket science, but there are a few common mistakes that can trip you up. Here are some things to watch out for:
- Inaccurate measurements: Even small errors in element length can affect performance.
- Poor connections: Make sure all connections are secure and soldered properly.
- Improper spacing: Ensure the elements are evenly spaced and aligned correctly.
By avoiding these pitfalls, you’ll increase your chances of building a successful Yagi antenna.
Tips for Maximizing Performance
Now that you’ve built your Yagi antenna, here are a few tips to help you get the most out of it:
- Position it high: The higher the antenna, the better the reception.
- Aim it correctly: Point the antenna in the direction of the signal source for optimal performance.
- Use a preamplifier: If you’re dealing with weak signals, a preamplifier can help boost them.
Real-World Applications of Yagi Antennas
Yagi antennas aren’t just for ham radio enthusiasts. They have a wide range of real-world applications, from improving TV reception to enhancing wireless communication systems. Here are a few examples:
TV Reception
If you’re tired of poor TV signal quality, a Yagi antenna can be a game-changer. By pointing it toward the nearest broadcast tower, you can enjoy crystal-clear reception without the need for a cable subscription.
Ham Radio
For ham radio operators, a Yagi antenna is an essential tool for long-distance communication. With the right setup, you can communicate with other operators across the globe.
Satellite Tracking
Believe it or not, Yagi antennas can even be used for satellite tracking. By carefully adjusting the antenna’s position, you can receive signals from satellites orbiting the Earth.
Conclusion: Take Action and Build Your Yagi Antenna Today
So there you have it—your ultimate guide to building a Yagi antenna. Whether you’re looking to improve your TV reception, boost your ham radio setup, or experiment with satellite tracking, a Yagi antenna is a powerful tool that can help you achieve your goals. Remember, the key to success is accuracy, patience, and a willingness to experiment.
Now it’s your turn! Grab your tools, gather your materials, and start building your very own Yagi antenna. And once you’re done, don’t forget to share your experience in the comments below. Who knows, you might just inspire someone else to take the plunge and build their own antenna. Happy building!
Build yagi antenna wifi antenna halfpoh

Build yagi antenna wifi antenna laptopasl

Build wifi yagi antenna partyero
