How To Use IoT SSH From Anywhere Free: Your Ultimate Guide
Ever wondered how you can control your IoT devices using SSH from anywhere without breaking the bank? Well, you're in the right place. In this article, we’ll dive deep into the world of IoT SSH, breaking it down step by step so you can set it up for free. Whether you're a tech enthusiast or just someone looking to automate their home, this guide has got your back.
Let’s face it—IoT (Internet of Things) is everywhere. From smart thermostats to voice-activated assistants, these gadgets are making life easier for millions of people. But what happens when you want to manage them remotely? That’s where SSH comes in. It’s like giving your devices a superpower that lets you access and control them from anywhere in the world.
Now, I know what you’re thinking: “Doesn’t this cost an arm and a leg?” Not anymore. With a few tricks up your sleeve, you can use IoT SSH for free. So buckle up because we’re about to take you on a journey that will transform the way you interact with your smart devices.
- Stream Vmovee Free Movies Your Ultimate Guide To Enjoying Latest Hits Without Breaking The Bank
- Theflixerz Your Ultimate Streaming Haven
Why IoT SSH Matters
In the realm of tech, IoT SSH is like the unsung hero. It allows you to securely connect to your devices over the internet, giving you the freedom to manage them no matter where you are. Think about it—you’re on vacation in Bali, but you want to check if you left the garage door open. With IoT SSH, you can log in and close it in seconds.
Here’s the kicker: security. SSH encrypts your connection, meaning your data stays safe from prying eyes. In a world where cyber threats are on the rise, having a secure connection is more important than ever. Plus, it’s free! Why spend money on expensive services when you can set this up yourself?
Let’s break it down with some numbers. According to Statista, the global IoT market is expected to reach $1.5 trillion by 2030. That’s a lot of devices out there, and each one needs proper management. With IoT SSH, you’re not just staying ahead of the curve—you’re setting the standard for smart living.
- Xmoviesws Your Ultimate Destination For Movie Streaming
- Why Fzmovies Live Is The Ultimate Destination For Movie Buffs
How IoT SSH Works
Okay, let’s get into the nitty-gritty. IoT SSH works by creating a secure tunnel between your device and a remote server. Here’s how it goes down:
- Your IoT device sends a request to the SSH server.
- The server verifies the request and establishes a secure connection.
- You can now access your device from anywhere using a terminal or SSH client.
It’s like having a secret handshake with your gadgets. Once the connection is established, you can send commands, transfer files, or even update firmware—all from the comfort of your couch (or anywhere else, really).
Key Features of IoT SSH
Now that you know the basics, let’s talk about what makes IoT SSH so awesome:
- Encryption: Your data is protected with military-grade encryption.
- Remote Access: Control your devices from anywhere in the world.
- Cost-Effective: Set it up for free using open-source tools.
- Scalability: Manage multiple devices with ease.
And the best part? You don’t need to be a tech wizard to get it working. We’ll show you exactly how to do it in the next section.
Setting Up IoT SSH for Free
Ready to roll? Here’s a step-by-step guide to setting up IoT SSH without spending a dime:
Step 1: Install an SSH Server
First things first, you need to install an SSH server on your IoT device. For most Linux-based systems, you can do this using the following command:
sudo apt-get install openssh-server
This will install the OpenSSH server, which is one of the most popular and reliable options out there. Once installed, make sure the service is running:
sudo service ssh start
Step 2: Configure Port Forwarding
Next, you’ll need to configure port forwarding on your router. This allows external connections to reach your SSH server. Here’s how:
- Log in to your router’s admin panel.
- Find the port forwarding settings.
- Add a new rule for port 22 (the default SSH port).
- Set the internal IP address to your IoT device’s address.
Voila! Your router is now ready to forward incoming SSH connections to your device.
Step 3: Use a Dynamic DNS Service
Since most home internet connections have dynamic IP addresses, you’ll need a way to keep track of your device’s address. Enter Dynamic DNS (DDNS). Services like No-IP or DuckDNS offer free plans that let you assign a static domain name to your device.
Here’s how to set it up:
- Create an account with a DDNS provider.
- Register a hostname (e.g., mydevice.ddns.net).
- Install the DDNS client on your router or IoT device.
Now, even if your IP address changes, you’ll always be able to connect to your device using the same hostname.
Step 4: Secure Your Connection
Security is key when it comes to IoT SSH. Here are a few tips to keep your setup safe:
- Change the default SSH port to something less obvious (e.g., 2222).
- Use strong passwords or, better yet, SSH keys for authentication.
- Enable two-factor authentication (2FA) if supported by your router.
By following these steps, you’ll have a rock-solid IoT SSH setup that’s both secure and easy to use.
Tools You Need for IoT SSH
Let’s talk about the tools you’ll need to make this happen:
- SSH Client: PuTTY (Windows), Terminal (Mac/Linux), or any other SSH client you prefer.
- Router: Any modern router with port forwarding capabilities.
- DDNS Service: No-IP, DuckDNS, or similar providers.
- IoT Device: A Linux-based device like a Raspberry Pi or similar.
Most of these tools are free or already included in your setup, so you won’t have to break the bank to get started.
Common Issues and How to Fix Them
As with any tech setup, you might run into some issues. Here are a few common problems and how to solve them:
Problem 1: Can’t Connect to SSH Server
This usually happens when port forwarding isn’t configured correctly. Double-check your router settings and make sure the SSH port is open.
Problem 2: Dynamic IP Address Changes
If your device’s IP address changes, your DDNS client should automatically update the hostname. If it doesn’t, restart the client or check for updates.
Problem 3: Security Warnings
If you’re getting security warnings, it might be because your SSH keys are outdated. Generate new keys and update your client settings.
By troubleshooting these issues, you’ll have a smooth-running IoT SSH setup in no time.
Best Practices for IoT SSH
To get the most out of your IoT SSH setup, here are some best practices to follow:
- Regularly update your SSH server and client software.
- Monitor your connection logs for suspicious activity.
- Limit access to trusted IP addresses if possible.
- Document your setup for future reference.
These practices will help you maintain a secure and reliable IoT SSH environment.
Future of IoT SSH
As IoT continues to grow, so does the importance of SSH. In the coming years, we can expect to see even more advanced features and integrations. Imagine controlling your entire smart home with a single SSH command. Pretty cool, right?
According to a report by IoT Analytics, the number of connected devices is expected to surpass 27 billion by 2025. With such rapid growth, the demand for secure and efficient management tools like IoT SSH will only increase.
Conclusion
In conclusion, setting up IoT SSH for free is easier than you think. By following the steps outlined in this guide, you can take control of your smart devices from anywhere in the world. Remember to prioritize security and best practices to ensure a smooth and reliable setup.
So, what are you waiting for? Dive in and start exploring the world of IoT SSH today. Don’t forget to leave a comment or share this article with your friends. Who knows, you might inspire someone else to join the IoT revolution!
Table of Contents
- Why IoT SSH Matters
- How IoT SSH Works
- Key Features of IoT SSH
- Setting Up IoT SSH for Free
- Tools You Need for IoT SSH
- Common Issues and How to Fix Them
- Best Practices for IoT SSH
- Future of IoT SSH
- Conclusion
- Fmovies Cc The Ultimate Streaming Haven Youve Been Searching For
- Hdhub4u Movie Your Ultimate Destination For Highquality Entertainment

IoT Anywhere Beecham Research

How To Use SSH IoT From Anywhere Free A Comprehensive Guide
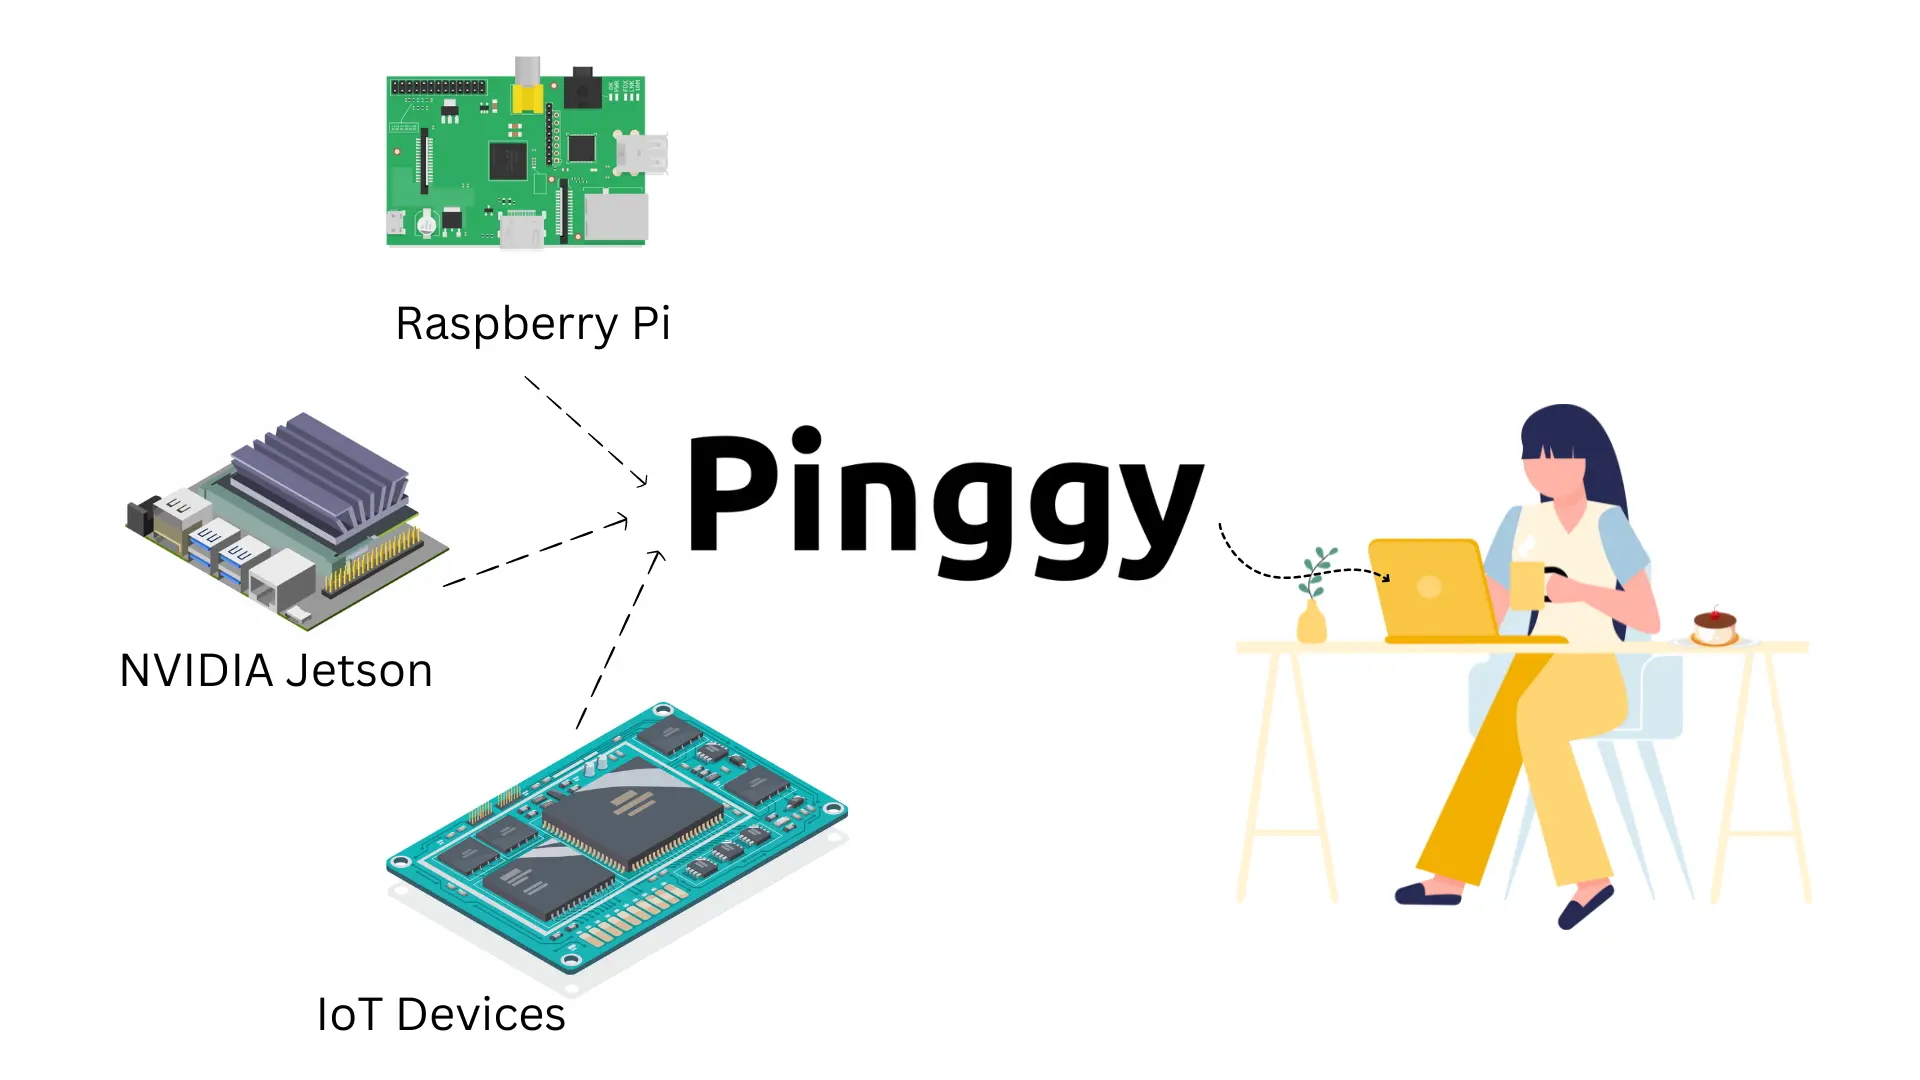
Access IoT Devices from Anywhere Pinggy
